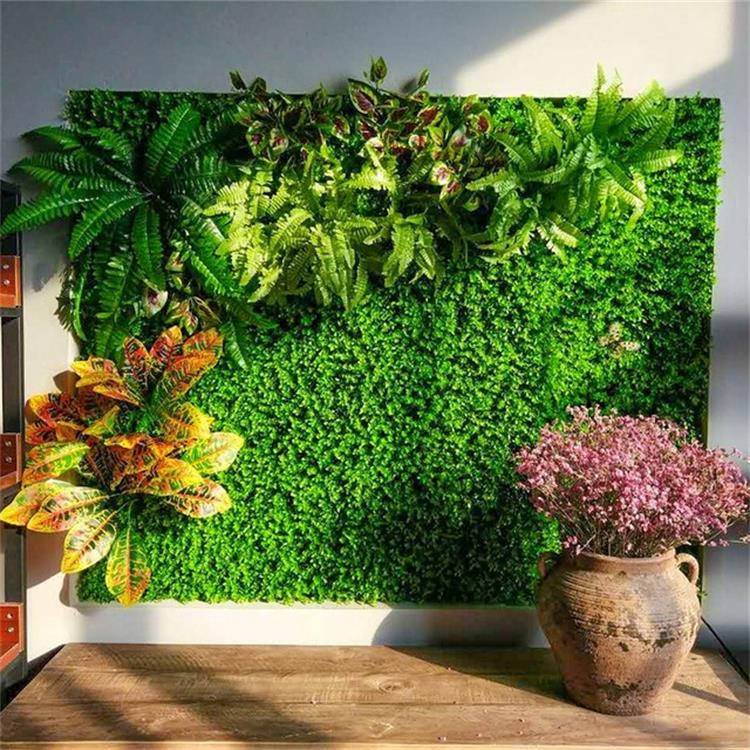
Build a DIY Artificial Vertical Garden at Home
Adding greenery to your home can bring a sense of tranquility and beauty to your living space. However, not everyone has the luxury of a sprawling garden or ample floor space for potted plants. That’s where a DIY Artificial Vertical Garden comes in. It’s a creative and space-saving way to infuse your home with the lushness of plants, regardless of your living situation. In this step-by-step guide, we’ll show you how to build your very own DIY Artificial Vertical Garden at home.

Materials You’ll Need
Before you start, gather the following materials:
- Dirbtiniai augalai: Select a variety of artificial plants, succulents, and foliage. Make sure they fit the style and color scheme of your space.
- Vertical Garden Frame: You can purchase a pre-made vertical garden frame or construct one yourself using a wooden frame, pallets, or a trellis.
- Backing Material: Choose a sturdy backing material such as plywood, corkboard, or wire mesh to attach the artificial plants.
- Staple Gun and Staples: To secure the artificial plants to the backing.
- Hooks or Wall Brackets: To hang your vertical garden securely on the wall.
- Adhesive or Glue: To reinforce the attachment of the artificial plants to the backing.
- Measuring Tape and Level: For precise measurements and leveling during installation.

Step-by-Step Guide
- Design Your Layout: Plan the layout of your vertical garden by arranging the artificial plants on the backing material. Experiment with different placements to achieve your desired look.
- Secure the Backing Material: Attach your chosen backing material to the vertical garden frame. Make sure it’s securely fastened, and the frame is stable.
- Attach the Artificial Plants: Using a staple gun, carefully secure each artificial plant to the backing material. Ensure that they are evenly spaced and securely fastened. You can also use adhesive to reinforce their attachment.
- Hang the Vertical Garden: Find a suitable location on your wall and mark the positions for hooks or wall brackets. Use a level to ensure your vertical garden hangs straight.
- Hang Your Creation: Hang your DIY Artificial Vertical Garden on the wall using the hooks or brackets. Make any final adjustments to the placement of the plants.
- Maintenance: Unlike real plants, artificial ones require very little maintenance. Occasionally, dust them off or gently wipe them with a damp cloth to keep them looking fresh.
- Enjoy Your Green Oasis: Step back and admire your handiwork. You now have a beautiful and space-saving vertical garden that adds a touch of nature to your home.
Conclusion
Building a DIY Artificial Vertical Garden at home is a rewarding project that allows you to incorporate greenery into your living space without the need for a traditional garden. With some creativity and a few materials, you can transform a bare wall into a lush, visually appealing oasis that brightens your home year-round. So, roll up your sleeves and get started on this wonderful project that brings nature indoors.
Susisiekite su mūsų dirbtinių augalų ekspertais!


Man patinka naudinga informacija, kurią pateikiate savo straipsniuose. Pažymėsiu jūsų tinklaraštį ir reguliariai čia tikrinsiu. I am quite certain I’ll learn many new stuff right here! Good luck for the next!